
Aiming with a recurve bow demands precise technique, stability, and consistency. Unlike compound bows, recurve bows do not always use sights, meaning archers often rely on instinctive aiming or other manual methods. This guide provides detailed instructions on how to aim a recurve bow effectively, from stance and grip to advanced aiming techniques. With consistent practice, you can improve your accuracy significantly, making every shot more reliable.
The Recurve Bow: Structure and Purpose
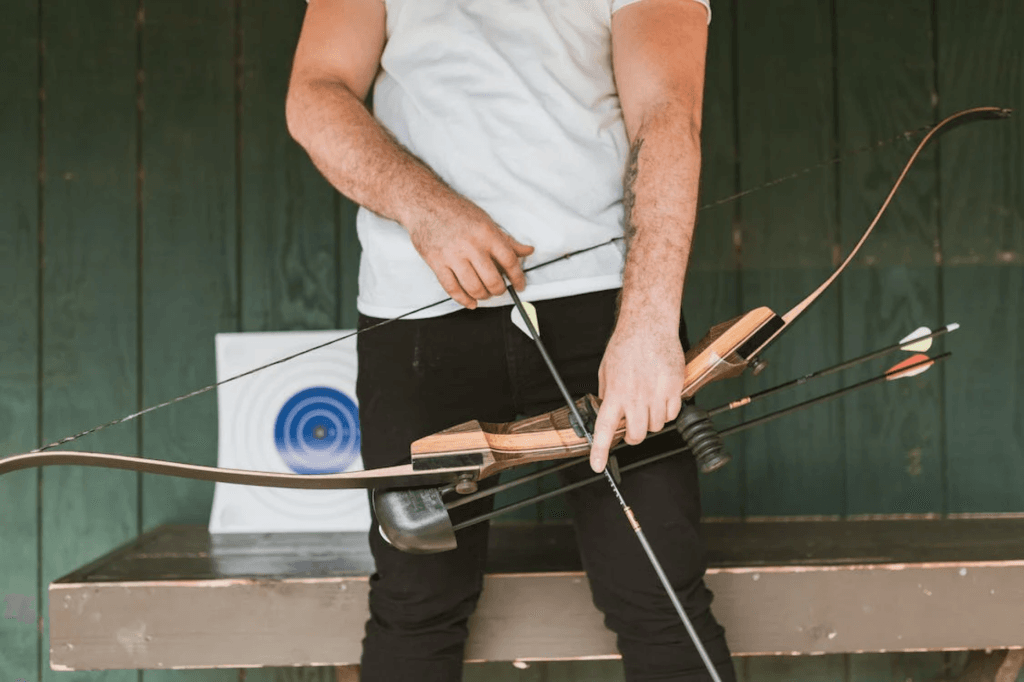
The design of a recurve bow makes it distinct from other bows. The outward curves at the tips store additional energy, resulting in a powerful shot with minimal effort. Understanding the bow’s structure is key to accurate shooting.
Key Components:
- Riser: The central grip section; it balances the bow.
- Limbs: The upper and lower parts, responsible for power.
- String: Connects the limbs and transfers energy to the arrow.
- Arrow Rest: A small support on the riser that holds the arrow before release.
Many traditional archers avoid sights for recurve bows, opting instead to learn instinctive shooting, which can enhance aim through familiarity with the bow.
Establishing the Correct Stance
Your stance is foundational to accurate shooting. An improper stance disrupts alignment and balance, directly affecting shot placement.
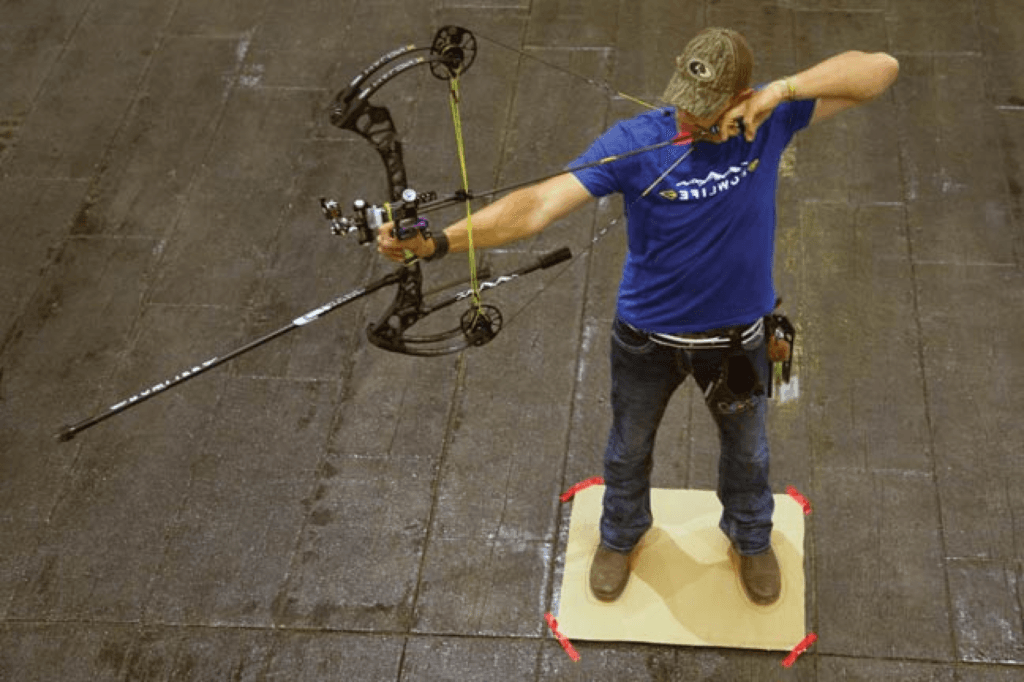
Steps to a Proper Stance:
- Square Stance: Place feet shoulder-width apart, perpendicular to the target. This stance is stable and widely used by beginners.
- Open Stance: For improved balance, point the front foot slightly towards the target. This stance can reduce shoulder tension and aid alignment.
In either stance, keep the spine straight and shoulders relaxed. Bending the knees slightly can also help maintain flexibility during aiming.
Grip Technique: How Should You Hold the Bow?
How you grip the bow can make or break your aim. Holding the bow when shooting requires a balance between firmness and relaxation. A tight grip increases torque, leading to inconsistent shots.
Steps for a Proper Grip:
- Relax Your Hand: Let the bow sit naturally in the palm, avoiding unnecessary pressure.
- Position: Place the webbing between the thumb and index finger directly behind the bow grip.
- Minimize Tension: Excess tension leads to “torque,” which pulls shots off target.
Avoid gripping the bow with your fingers tightly wrapped around it. Instead, allow a natural position, where only gentle support keeps the bow stable.
Aligning the Bow: Sighting in a Recurve Bow
Using a sight can aid in aiming, though many recurve archers prefer traditional, sightless shooting methods. Sighting in a recurve bow involves adjusting the sight for accurate alignment with the target.
Steps for Sighting:
- Adjust Elevation: Set the sight height for accurate shots based on distance. Most target distances are between 20 to 50 meters.
- Windage Adjustment: Wind and other factors can alter arrow flight. Adjust windage to keep the sight pin steady on the target.
Sighting requires periodic recalibration, especially if you change distances often. Always double-check sight adjustments before practice sessions or competitions.
Aiming Without Sights: Instinctive and Gap Shooting
For archers shooting without sights, how to aim a recurve bow without a sight involves techniques like instinctive shooting and gap shooting.
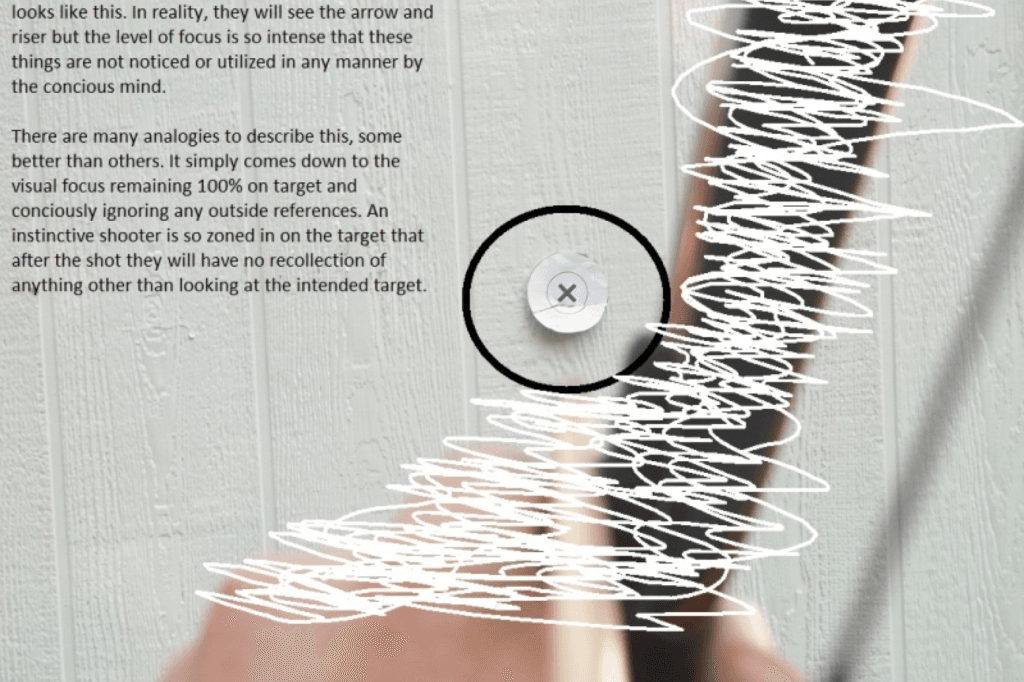
Instinctive Shooting:
- Focus solely on the target, ignoring specific reference points. Your brain learns to adjust based on past experience and repetition. Instinctive shooting requires significant practice but offers fluidity and flexibility for rapid shots.
Gap Shooting:
- Use the arrow tip as a reference. Determine the “gap” or distance between the arrow tip and the target for different distances. This method is systematic and effective for consistent target shooting.
Both techniques require regular practice to refine accuracy and create muscle memory.
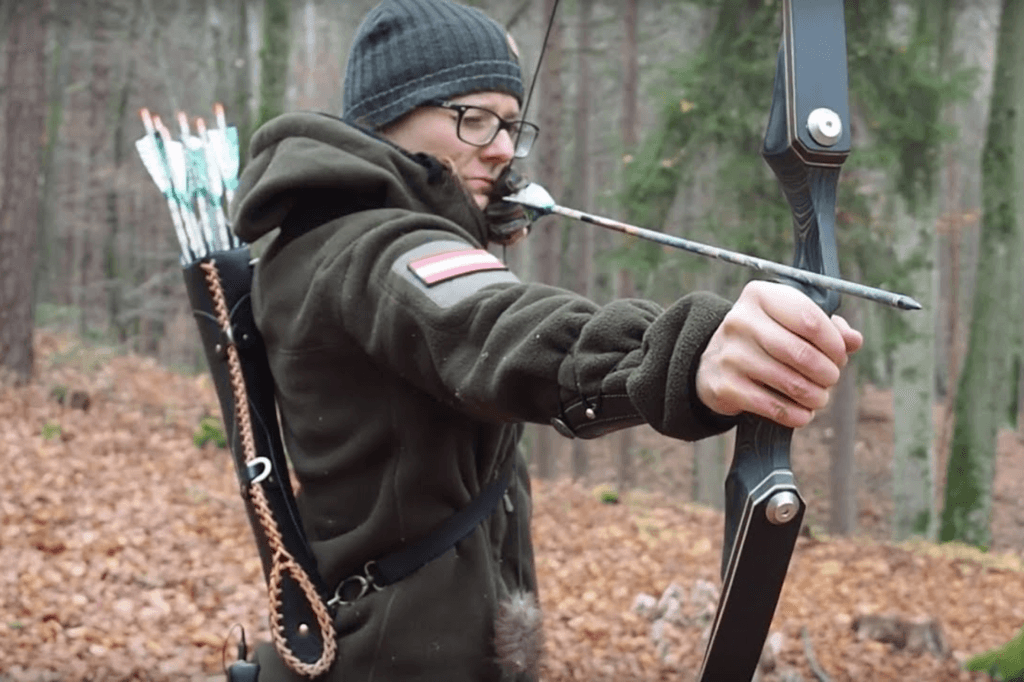
Anchor Point and Draw Consistency
A stable anchor point is crucial for aiming consistency. The anchor point is where your draw hand meets a specific spot on your face, aligning the shot.
Key Anchor Points:
- Corner of the Mouth: Common for target shooting; it keeps the draw hand close to the face.
- Chin or Jaw: Offers stability for distance shots, providing a firm position for consistent release.
For consistent accuracy, use the same anchor point every time. Changes in anchor points can result in inconsistent aim, affecting shot placement.
Release and Follow-Through Technique
The release should be smooth, with minimal disturbance to the arrow’s flight path. Follow-through keeps the shot stable after release.
Technique for Release:
- Relax Fingers: Avoid jerking or plucking the string. A gentle finger relaxation ensures a clean release.
- Follow-Through: After release, maintain the bow arm’s position briefly. Dropping the arm immediately after release disrupts shot alignment.
Statistics show that archers who focus on a consistent release technique improve accuracy by up to 20%. Follow-through is equally important, stabilizing the shot after the arrow leaves the string.
Practicing Consistency in Aiming
Consistent practice is vital for mastering how to aim a bow and arrow. Regularly practicing at various distances improves adaptability and accuracy.
Practice Tips:
- Start with Close Ranges: Begin at 10 meters, then progress to 20, 30, and beyond. This approach builds confidence and familiarity with the bow.
- Use Varied Targets: Practice with different target sizes and heights. Adjusting aim for varied targets improves precision.
Track your progress by logging your sessions, noting distances, and assessing accuracy patterns over time.
Common Errors and Solutions in Bow Shooting
Understanding and avoiding common mistakes improves shooting accuracy. Here are some common bow shooting errors and corrective actions.
Common Mistakes:
- Over-Gripping: Avoid excessive tension in your hand to prevent torque. A relaxed grip reduces shot disruption.
- Inconsistent Anchor Points: Stick to the same anchor point for each shot to maintain accuracy.
- Dropping the Bow Arm: Keep the bow arm steady until the arrow lands on the target, ensuring that aim remains consistent.
Advanced Techniques for Aiming and Control
Experienced archers often use advanced methods to refine their aim. String walking and face walking are two popular techniques among seasoned archers.
String Walking:
- Move your fingers slightly up or down the string to adjust for distance. String walking provides flexibility in target shooting, particularly at varying distances.
Face Walking:
- Change the anchor point slightly based on the shot distance. A higher anchor point raises the shot angle, useful for short-range targets.
Recurve Bow Range and Effective Distance
The effective range of a recurve bow depends on factors like draw weight and arrow weight. On average, a 40-pound recurve bow effectively reaches 40-50 meters for accurate target shooting.
Regular Maintenance and Adjustments
Keeping your recurve bow in optimal condition is vital for accurate shooting. Regular maintenance includes string replacement, limb checks, and cleaning.
How do you aim a recurve bow without sights?
Aim without sights by using instinctive shooting or gap shooting techniques. Regular practice with these methods improves accuracy.
What is the correct way to hold a recurve bow?
Hold the bow with a relaxed hand to avoid torque. Position your hand naturally behind the grip, avoiding excess tension.
How far can a recurve bow shoot accurately?
A typical 40-pound recurve bow reaches around 40 to 50 meters accurately. Draw weight and arrow type affect this range.
What are common mistakes in bow shooting?
Over-gripping, inconsistent anchor points, and dropping the bow arm are frequent errors. Correcting these can improve aim and shot stability.